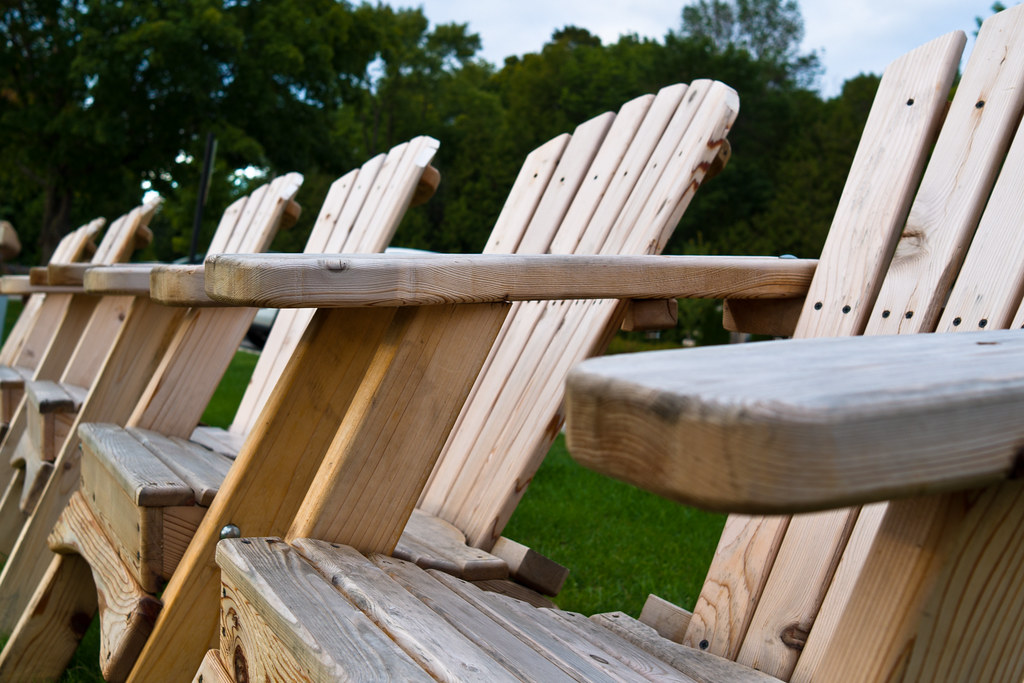
So you think you’re ready for outdoor entertaining? You’ve built an outdoor kitchen space and someplace to keep drinks cold, but do you have enough seats for everyone? These plans for an Adirondack chair can help make sure everyone has someplace to sit when you start outdoor entertaining again.
What Type of Wood Do I Use For an Adirondack Chair?
There are a lot of different options for building an Adirondack chair! Cedar and redwood are great choices since they are naturally water- and bug-resistant and last for a long time. For a rustic look, try Architect Knotty or Select Knotty grades from Real Cedar. If you’re more interested in a contemporary or modern look without knots, look for Architect Clear and ‘A’ & better grades.

Untreated wood like pine or Douglas fir are also options, but the lifetime of your chairs may be only five to ten years. A coat of stain and sealer every few years will dramatically extend the life of your chair.
When it comes to specifying lumber sizes, we recommend looking for short lengths in the lumber you choose. Using short lengths means less cutting, less waste, and more savings for you. Search for kiln-dried material, if available. It will bow and twist less over time than lumber that isn’t kiln dried.
What Type of Fasteners Should I Use?
Since the fasteners for this project will be exposed to the weather, you’ll want to use corrosion-resistant fasteners. Stainless steel screws or hot-dipped galvanized screws will work best.
Your Adirondack Chair Plans
Thanks to Real Cedar for the plans for the Adirondack Chair!


